-
Your shopping cart is empty!
MENU
Your shopping cart is empty!
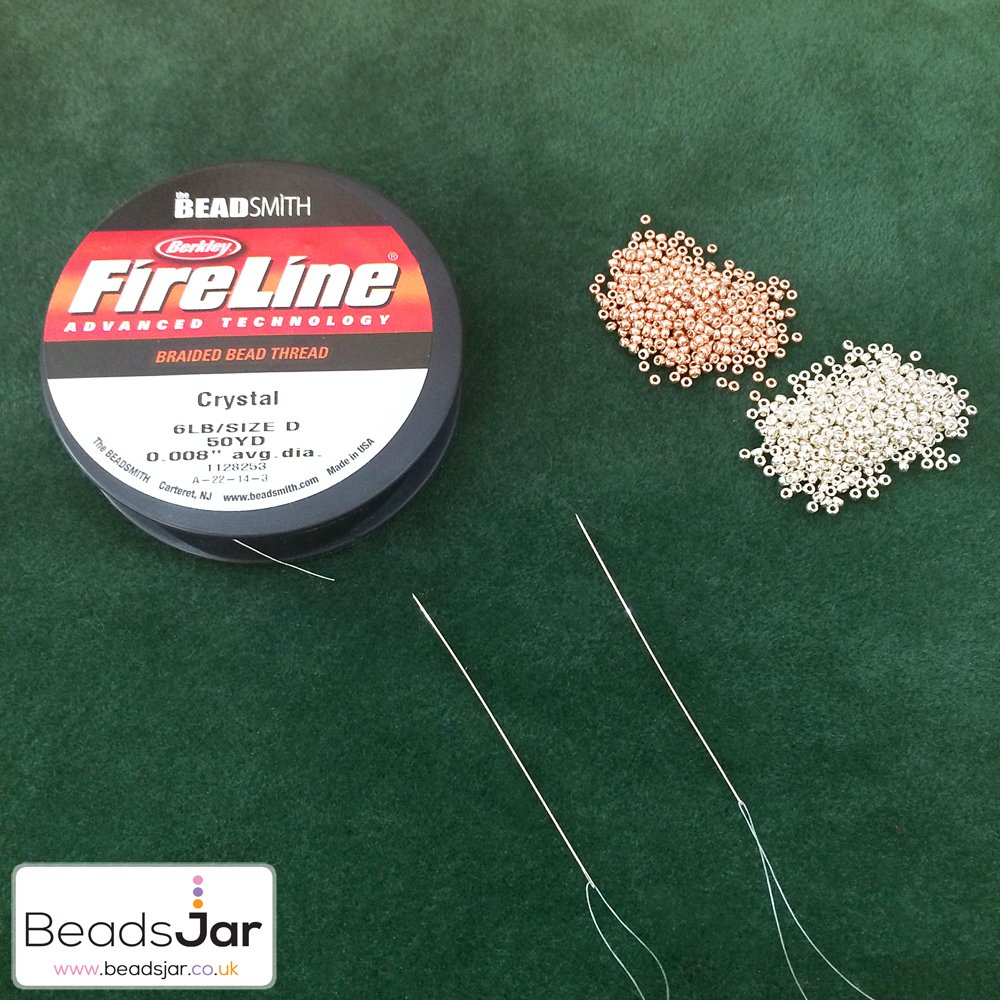
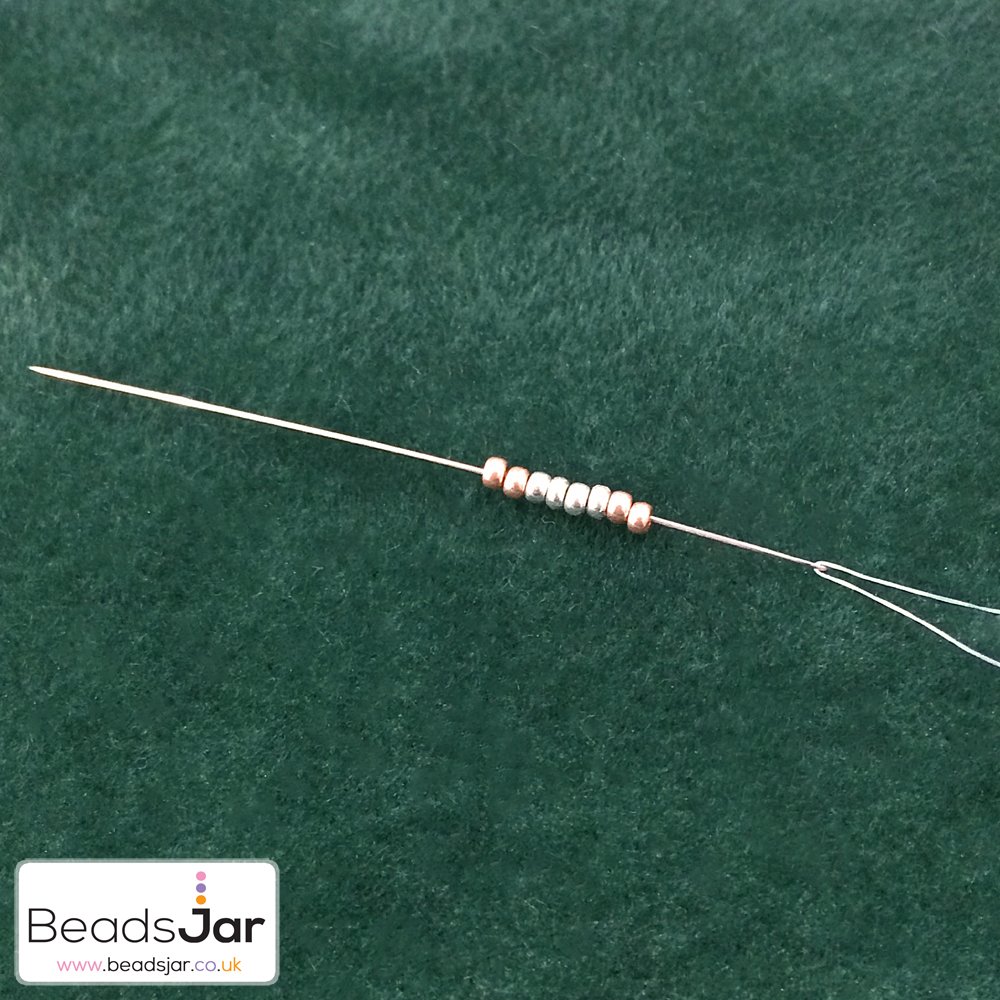
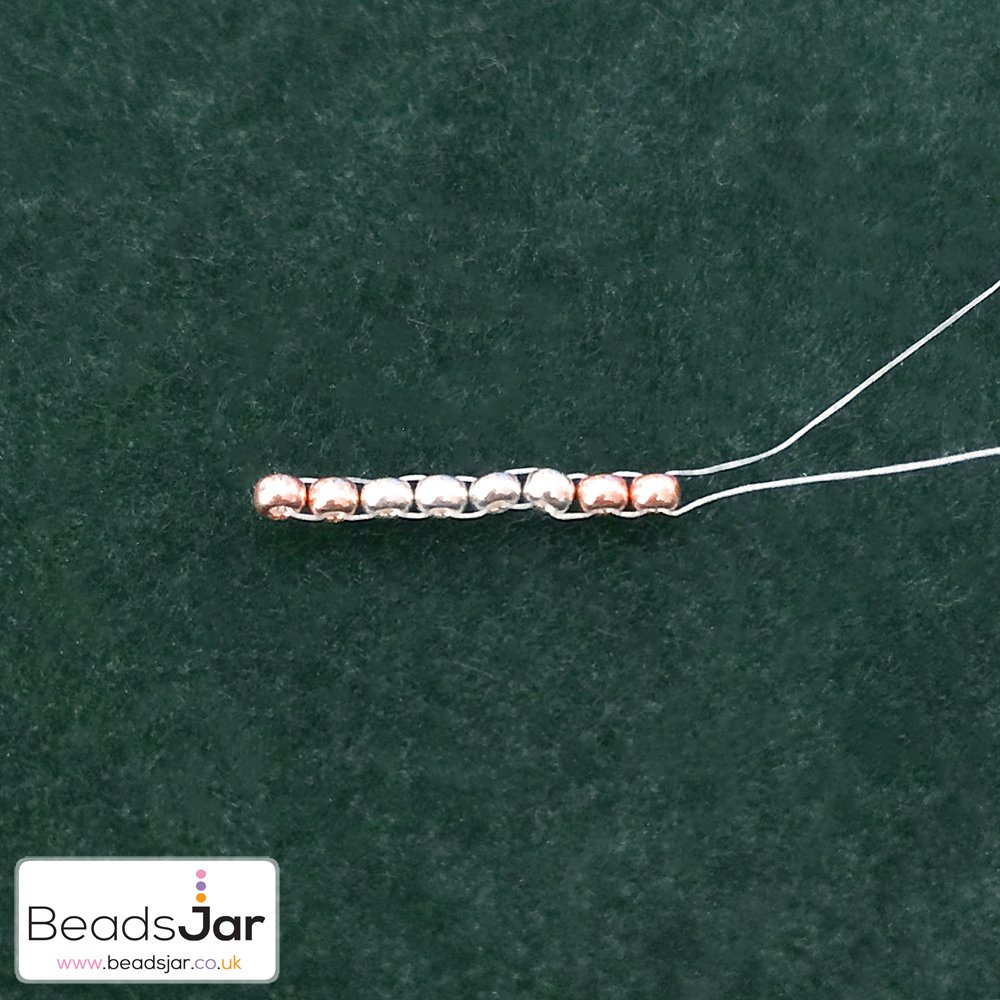
Cut a 30 inch length of beading thread and thread a size 10 beading needle onto each end. Then on one needle, pick up 8 seed beads: 2 x colour 1, 4 x colour 2, then 2 x colour 1. Leave an 11 inch tail on one end of your thread.
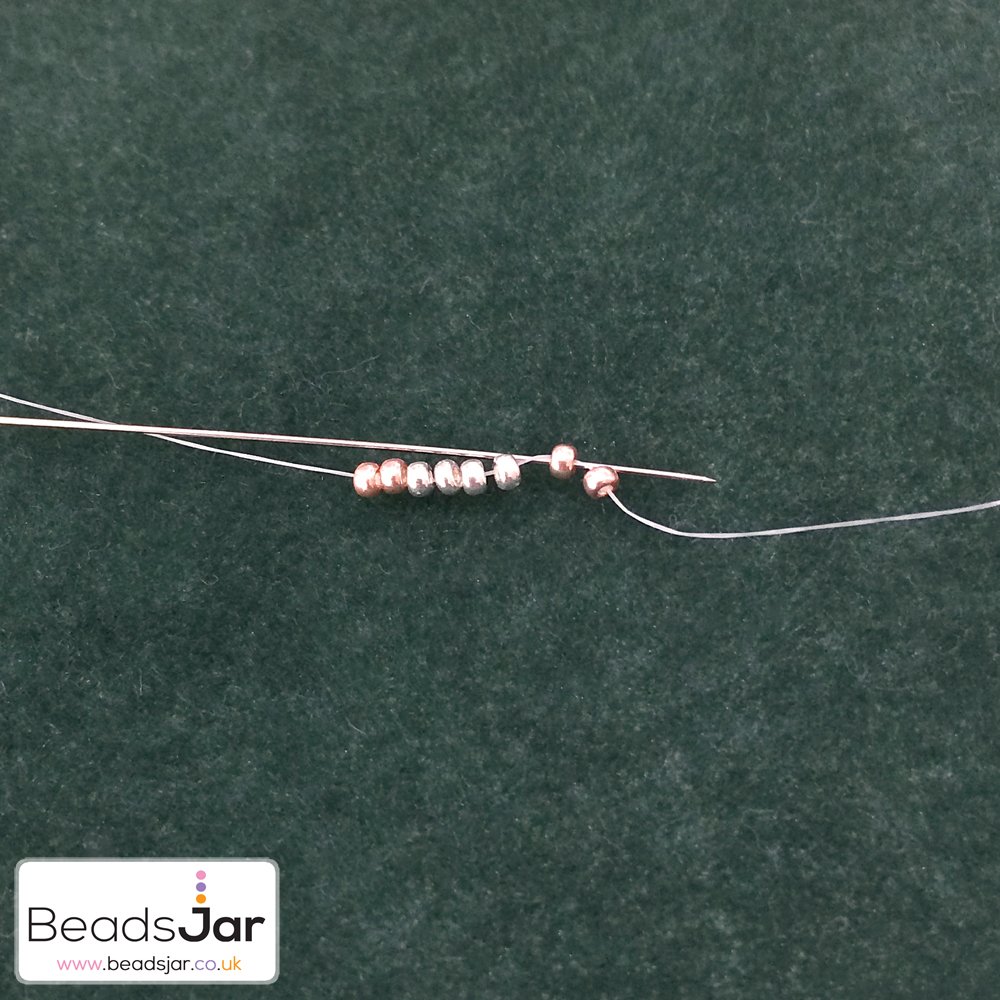
To begin with you are going to stitch the ladder stitch to secure your beads onto the thread as a base for the herringbone. So, take the needle on the other end of the thread (the longer side) back through bead 7, then pull tight.

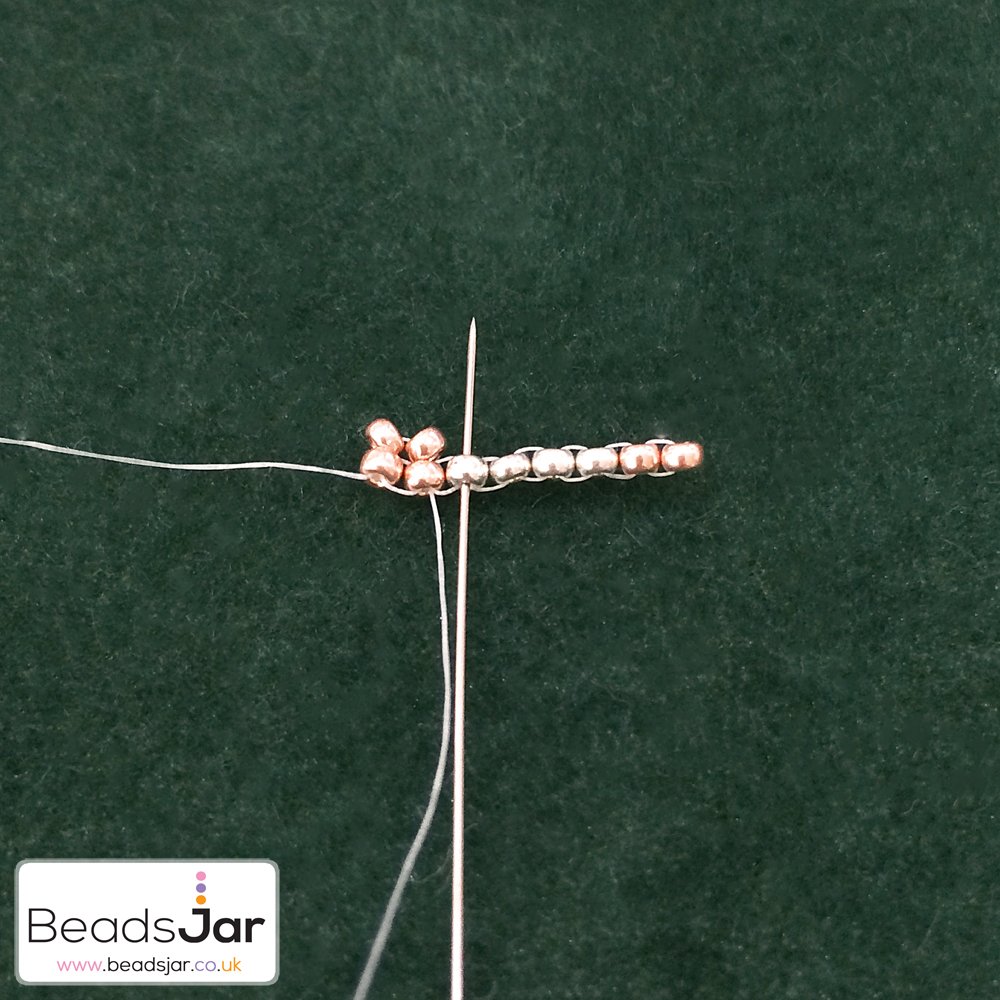
You should now be looking at this:

Now take the same needle through bead 6 and pull tight.

Take the needle through bead 5 and pull tight. You should be able to see the ladder stitch forming now.
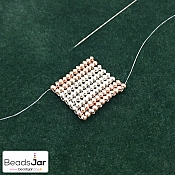
Carry on doing this for the remaining beads until you are looking at this:

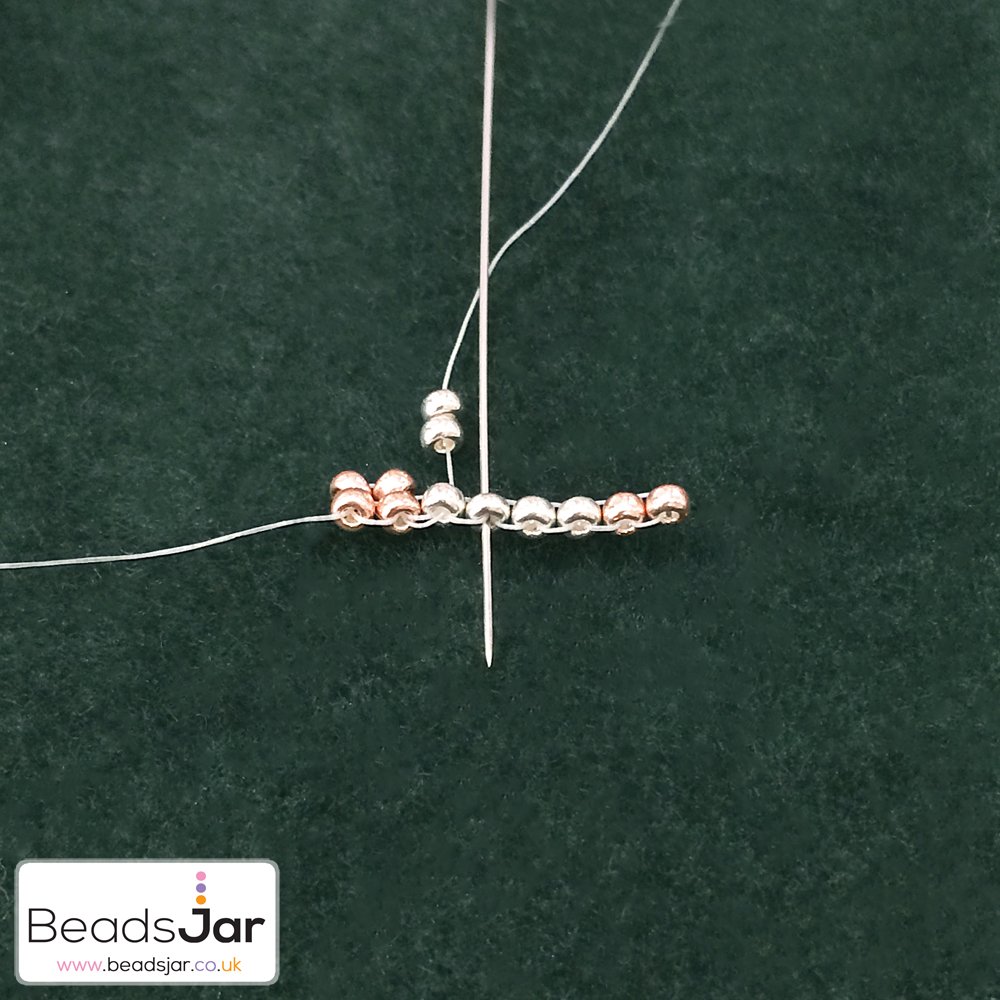
Flip your ladder over. You can now remove the needle on the 11 inch tail as your beads are now secure. Next, pick up 2 x colour 1 seed beads on your remaining needle and take down through bead 2 on your row of ladder stitch.
Take the needle back up through bead 3 on the base row of ladder stitch.
Pick up 2 x colour 2 seed beads and take back down through bead 4 on your first row.
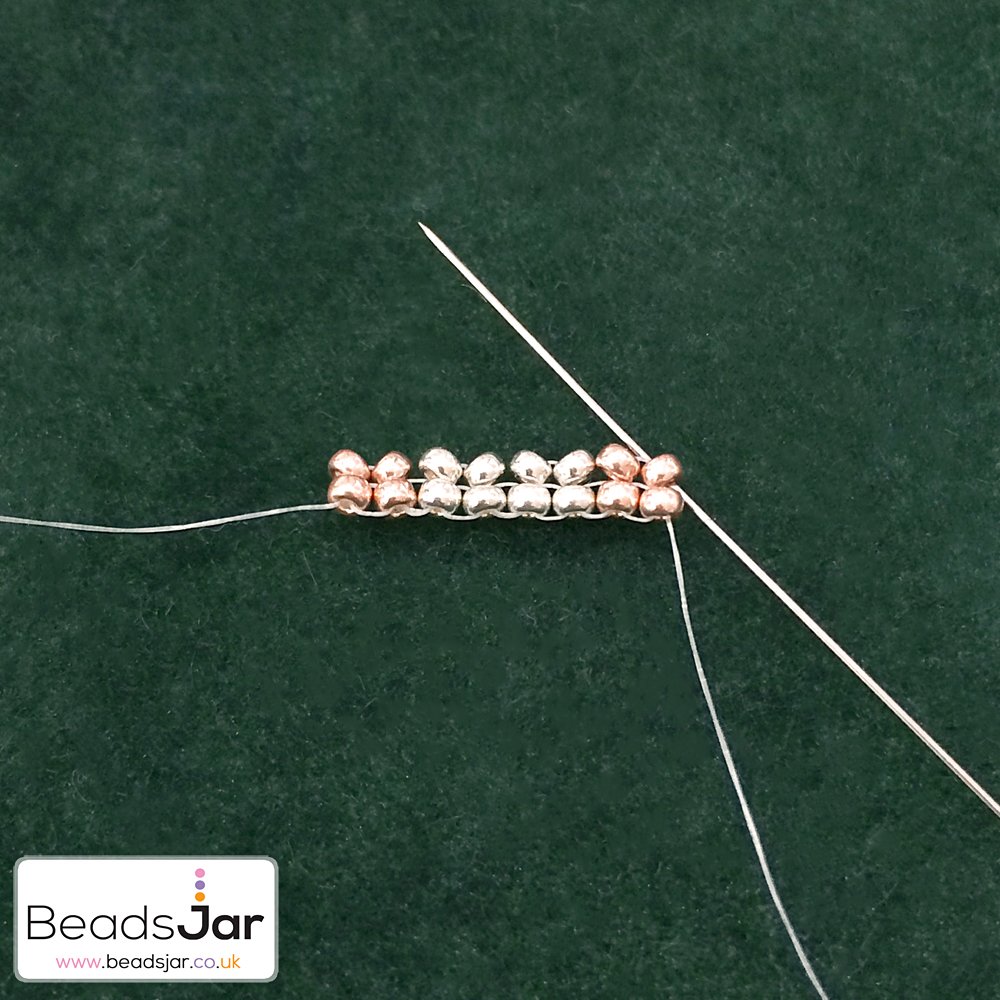
Carry on doing this with corresponding colours to your first row until you reach the end of the row. When you reach the end, take the needle back up through bead 8 on row 2 and pull tight.

Flip over again, pick up 2 x colour 1 seed beads and take the needle back down through bead 2 on the second row. Keep a good tension on your beading thread. You may have noticed your beads start to form a slight 'v' Shape now, make sure you keep this neat.
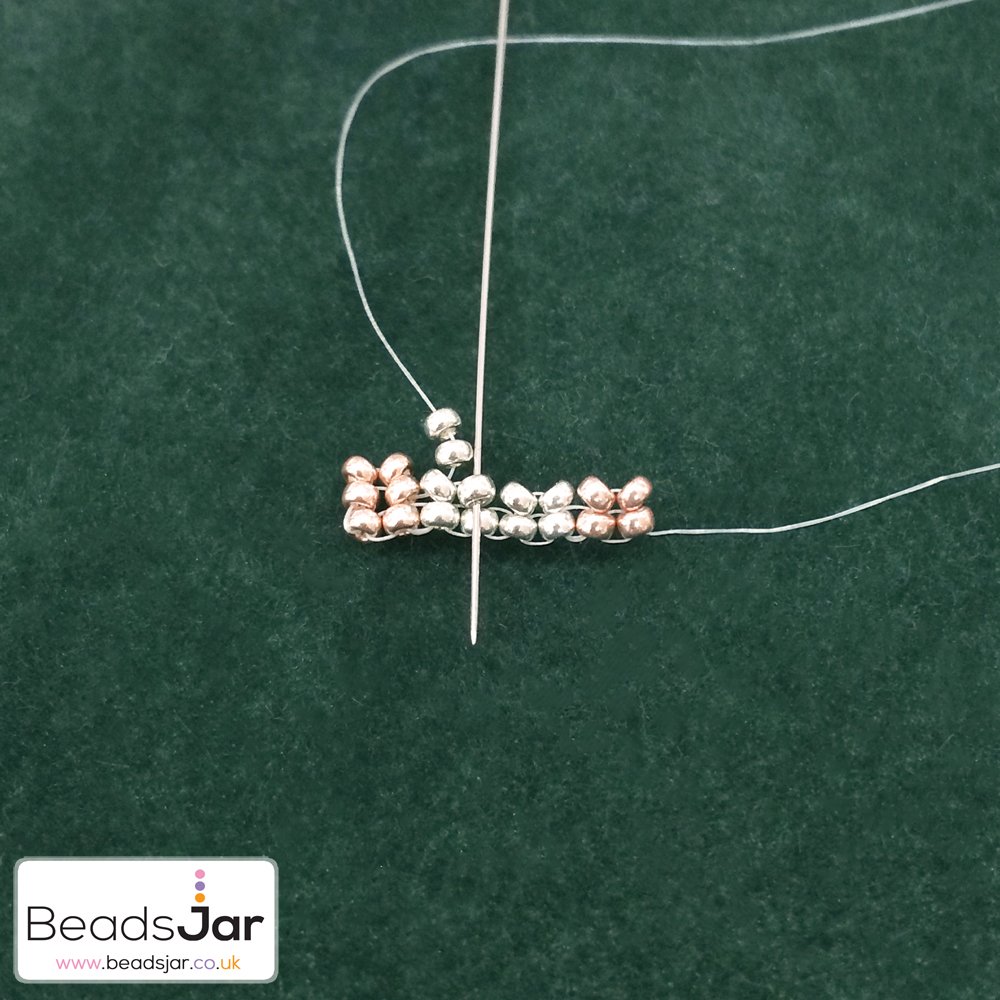
Take the needle up through bead 3 on the second row, then pick up another 2 x colour 2 seed beads and take the needle back down through bead 4 on the second row.

Take the needle up through bead 5 on the second row, pick up another 2 x colour 2 seed beads then take back down through bead 6 on the row 2.
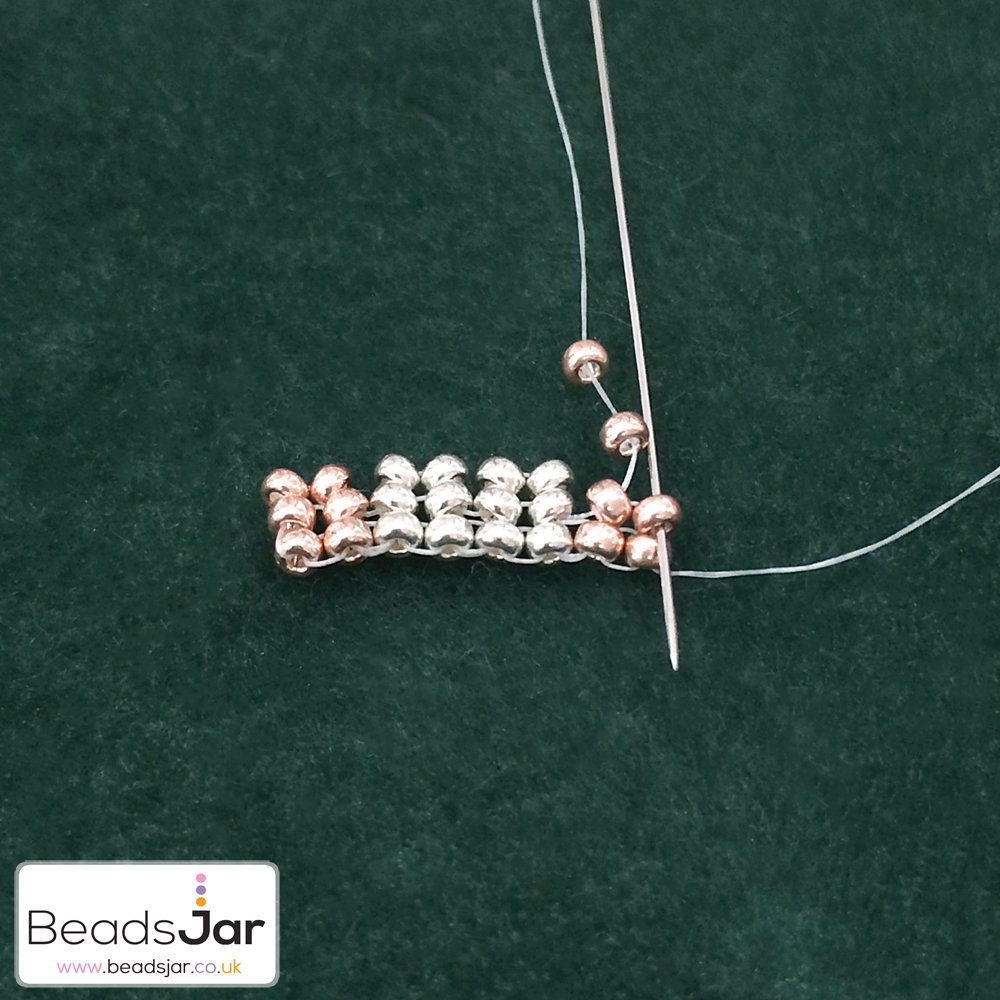
Take your needle up through bead 7 on row two, pick up 2 x colour 2 seed beads then take back down through bead 8, completing the third row.

Flip over again and take the needle back up through bead one as you did on the previous row. Carry on with this until you have reached your desired length then tie off your thread!
If you found this guide helpful, take a look at our beginners guide to basic Peyote Stitch.
There are no products to list in this category.